
Product background removal — Verify the result
Product background removal — Verify the result: Open the cutout PNG over light, dark and saturated backgrounds and look for missing parts, leftover…
Remove image backgrounds
The server removes each background one at a time, then returns transparent PNG files for individual or ZIP download.
Worked example
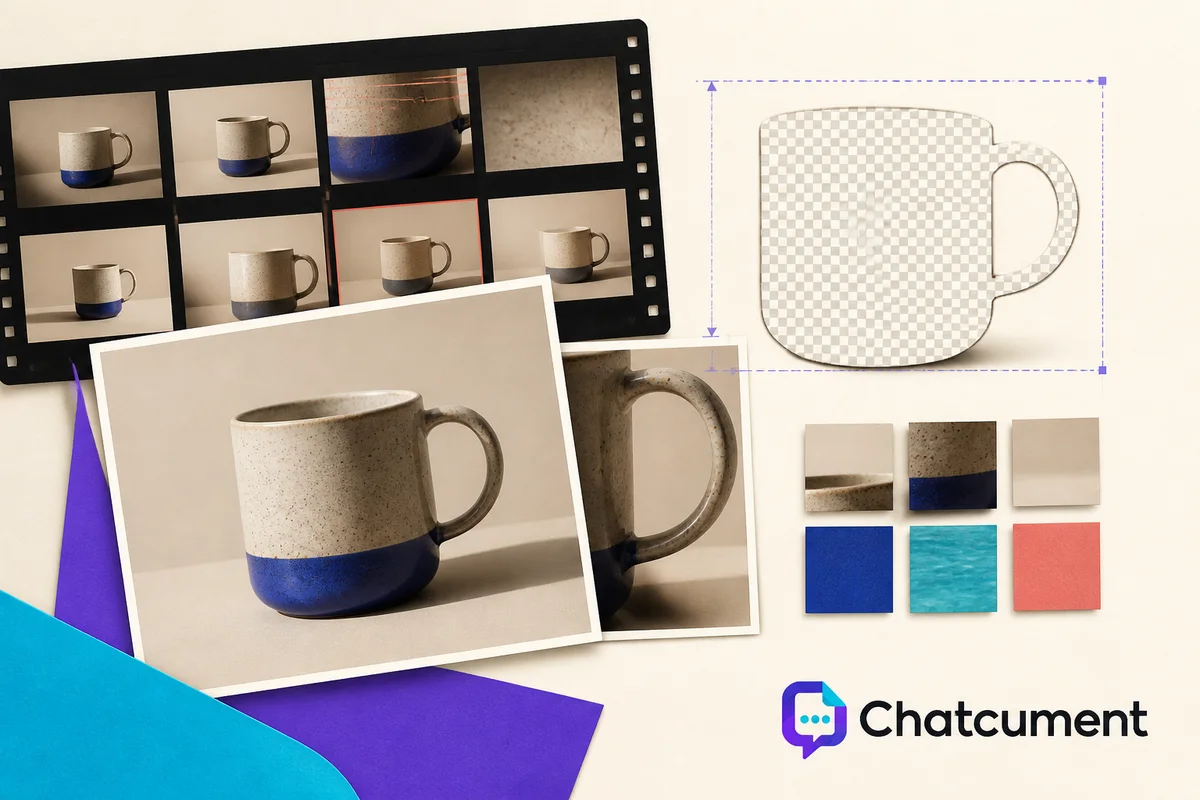
Open the cutout PNG over light, dark and saturated backgrounds and look for missing parts, leftover background and rough edges.
The file is named after the source with -background-removed, so sneaker.jpg becomes sneaker-background-removed.png. Confirm it is a PNG with an alpha channel in the file properties. Then place it on white, on near-black and on a strong colour such as red in an editor or even a slide. A light halo that disappears on white may show up clearly on black.
Walk around the product edge at 200 percent. Check handles, laces, holes in the middle of the object, transparent plastic and shadows. A common surprise is a hole that stayed filled with the old background, for instance the gap inside a bag handle.
Compare the dimensions with the source. They are usually the same, such as 1500 × 1500 px, but read the numbers rather than assume. Also compare file sizes: the PNG will often be larger than the JPG, which is normal.
The easiest mistake is judging from the small preview. Decide only after zooming in on the hardest edge. If a single part is wrong, the PNG is still useful as a base that you fix by hand, but an obviously bitten product should be re-run from a cleaner photo.
Keep the checked PNG and a short note of what you verified, such as white and dark tests passed, so a colleague does not repeat the whole review.
Input
Product photograph
Output
PNG cutout
Always test the cutout on both white and dark backgrounds; halos hide on one and show on the other.
Choose a specific task 6
Related tools 13
How to use Product background removal — Verify the result
- Choose the image for Product background removal — Verify the result.
- Adjust the task-specific controls while reviewing the preview.
- Apply the change and download the completed image.
Quick answers
What does Product background removal — Verify the result do?
Product background removal — Verify the result: Open the cutout PNG over light, dark and saturated backgrounds and look for missing parts, leftover…
How do I use Product background removal — Verify the result?
Choose the image for Product background removal — Verify the result. Adjust the task-specific controls while reviewing the preview. Apply the change and download the completed image.
What can I do with the Product background removal — Verify the result result?
The preview reflects the selected operation; completed images can be downloaded individually or together when a batch is available.
What should I check before publishing an edited image?
Open the exported file and check its dimensions, file size, fine text, edges, and transparency at the size where it will be used. Resizing changes pixel dimensions; compression targets file size. Enlarging an image does not guarantee recovery of missing detail. Keep your original so you can export again with different settings.