Audio trimming — Input checklist
Audio trimming — Input checklist: Before trimming, keep the recording under 100 MB per project in a supported format, and write down the exact times you…
Worked example
Before trimming, keep the recording under 100 MB per project in a supported format, and write down the exact times you want to keep.
The 100 MB cap matters more than it looks. A 128 kbps MP3 reaches 100 MB after about 104 minutes, but an uncompressed 44.1 kHz stereo WAV hits it after only 9.4 minutes. A podcaster who wants a 30-second teaser out of a 60-minute recording should therefore load the MP3 or M4A, not the 635 MB WAV.
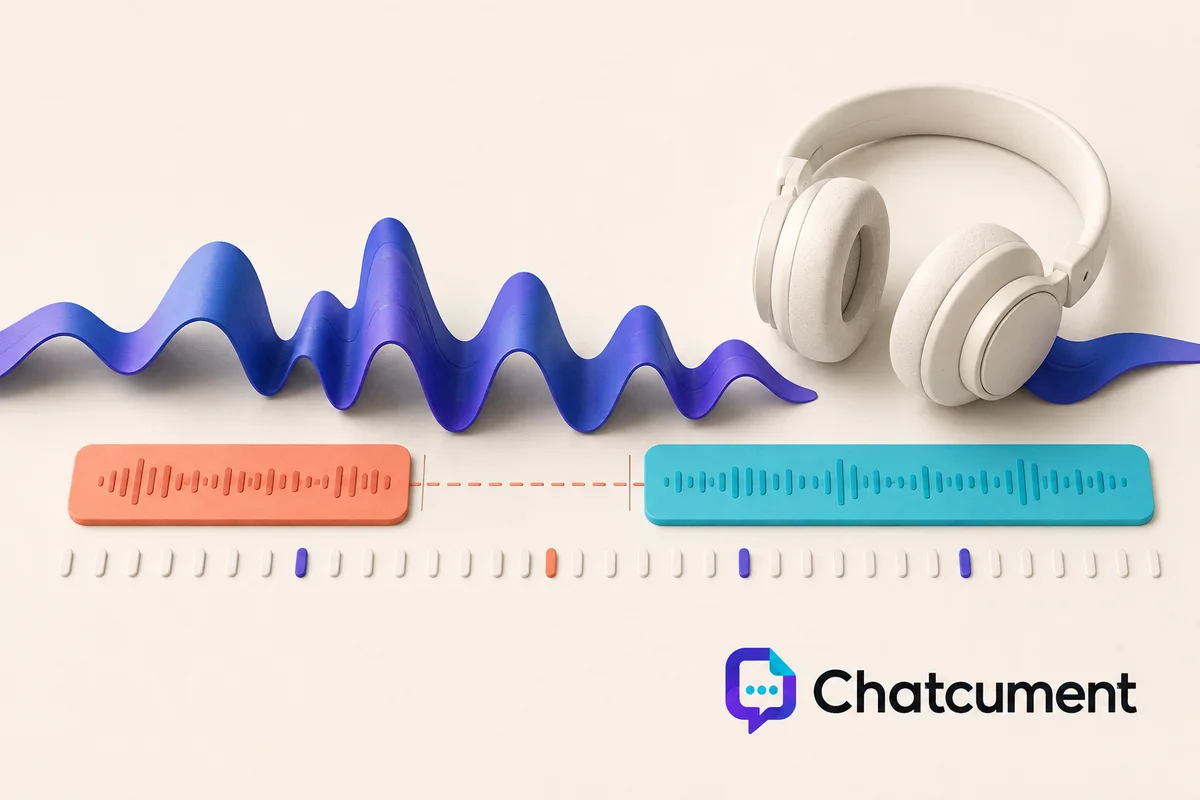
Write down the in and out points before you open the file: for example start at 0:10 and end at 0:40 of a 60-second source, which leaves a 30-second clip. Having numbers lets you check the result later instead of trusting your eye on the waveform.
The common mistake is choosing the boundaries by looking at the waveform only. A quiet consonant at the start of a word, such as an "s" or "f", draws almost nothing, so a cut that looks like it sits just before the word may land inside it. Fix this by playing a few seconds either side of each boundary and leaving a short natural pause.
One last check: play the whole source once. A cough, a notification beep or a pop in the first seconds is easier to avoid choosing now than to discover in the exported file. Keep the written times next to the file name so you can repeat the same cut later.
Input
60 s source; select 10–40 s
Output
30 s intended selection
The editor keeps the project in the open tab, so do not close the page before you have exported and downloaded the WAV.
Choose a specific task 6
Related tools 5
How to use Audio trimming — Input checklist
- Choose the media file for Audio trimming — Input checklist.
- Select the edit, conversion, or timing option and preview the result.
- Render the output and download it when it is ready.
Quick answers
What does Audio trimming — Input checklist do?
Audio trimming — Input checklist: Before trimming, keep the recording under 100 MB per project in a supported format, and write down the exact times you…
How do I use Audio trimming — Input checklist?
Choose the media file for Audio trimming — Input checklist. Select the edit, conversion, or timing option and preview the result. Render the output and download it when it is ready.
What can I do with the Audio trimming — Input checklist result?
The completed media file is available to preview and download; multiple results can be bundled when the tool produces more than one file.
What should I listen for in the exported audio?
Play the beginning, end, and each edited transition in the downloaded file. Check that speech is not cut off, fades sound natural, and louder sections do not distort. Converting a compressed recording to WAV does not restore information already lost. Keep the source and choose an output format accepted by the destination service.